What Is an SPI LED Linear Pixel Light for Facade Illumination?
You want to bring a building's facade to life with dynamic color, but the cost and complexity of DMX systems are holding you back. The wiring seems like a nightmare.
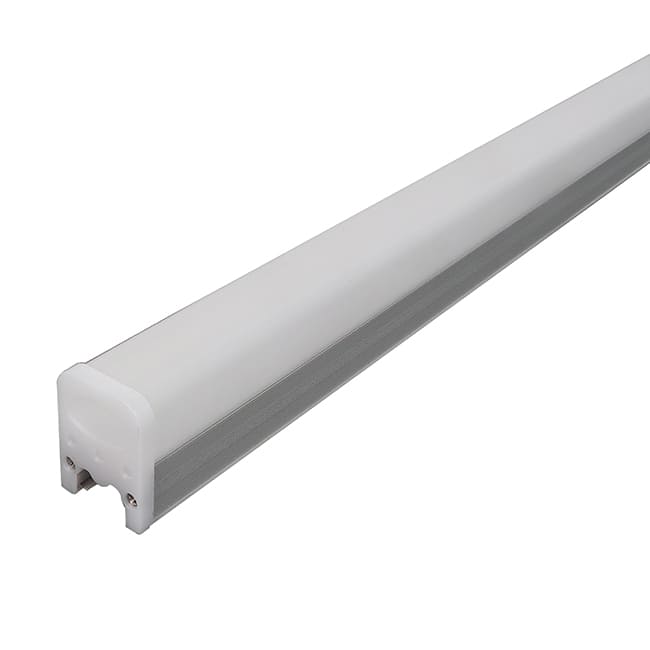
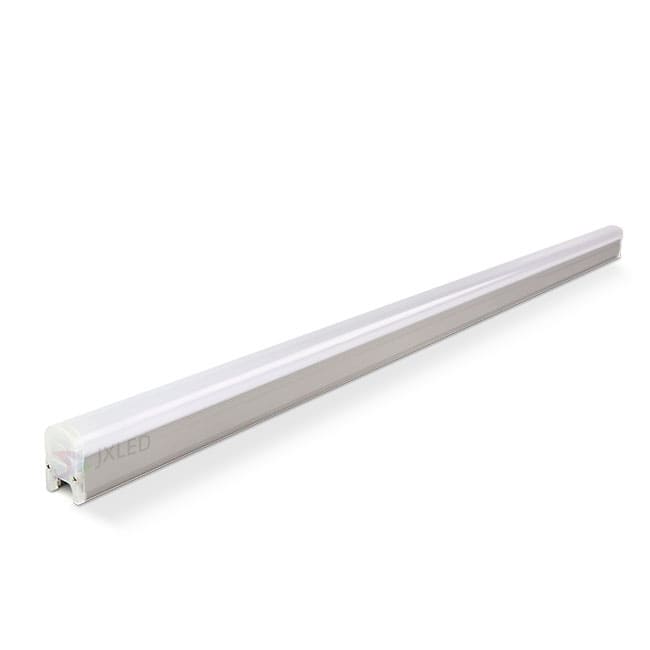
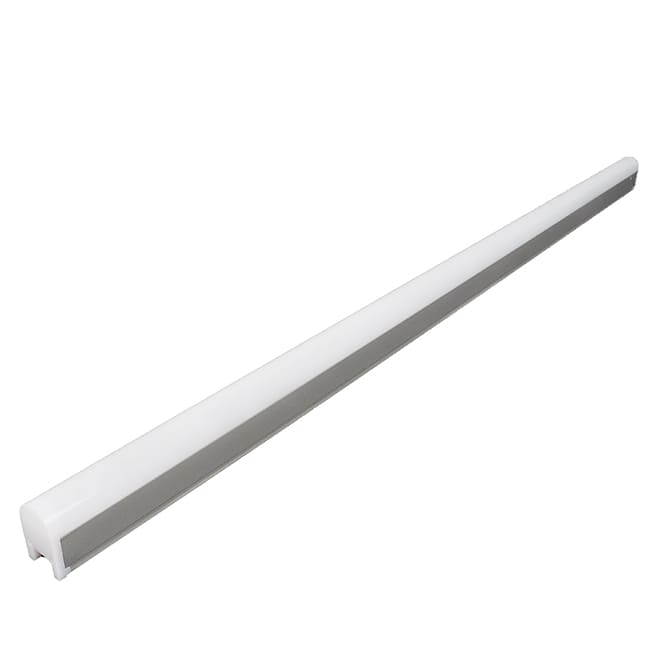
An SPI LED linear pixel light is a one-meter architectural bar that uses a simple, cost-effective control protocol (SPI) to create flowing color effects. Its IP65 rating and durable aluminum body make it perfect for outlining buildings and creating simple, eye-catching media facades.
I've specified these lights for many projects where the goal was maximum visual impact on a tight budget. They are the go-to solution for creating beautiful color chases and gradients without the technical overhead of a full DMX system. Let’s look at what makes this fixture so practical and versatile.
What Are Its Key Technical Specifications?
A spec sheet can be overwhelming. If you don't know what to look for, you could end up with a light that's too dim, fails in the first rainstorm, or just isn't right for your project.
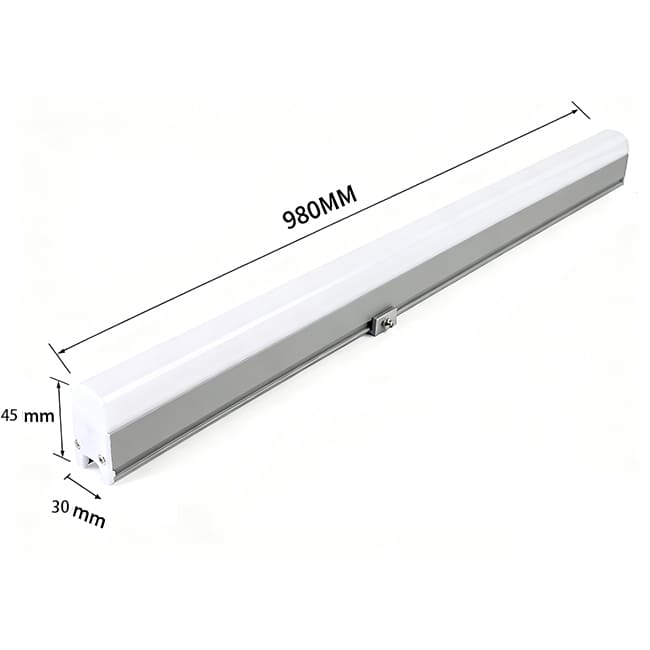
This is a 1-meter, 10-watt linear light running on safe 24V DC power. It features a durable aluminum and PC construction, is IP65 waterproof, and has a wide 110-degree beam angle for smooth wall coverage.
Power, Dimensions, and Durability
This fixture runs on 24V DC, which is my preferred voltage for most outdoor jobs. It's safer than mains voltage and allows for longer cable runs with less voltage drop compared to 12V systems. At 10 watts for a one-meter bar, it offers a great balance of brightness and energy efficiency. You can easily calculate your power supply needs by multiplying your total meterage by 10.
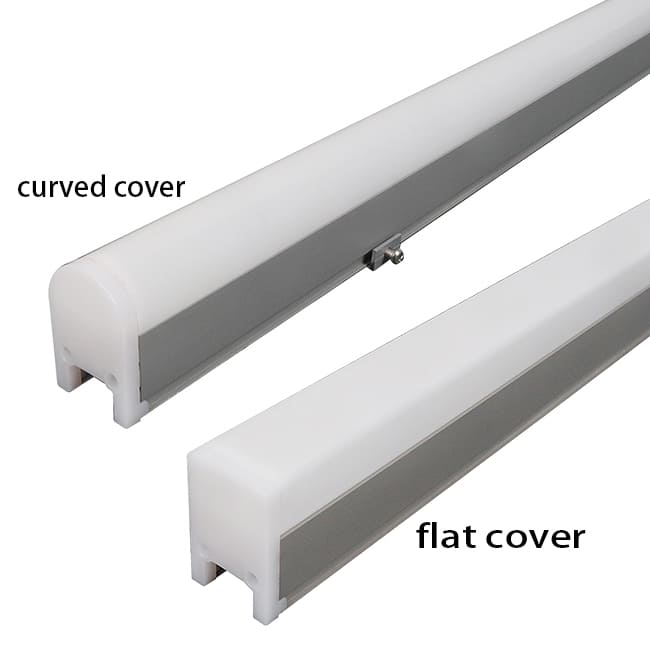
The body is made of extruded aluminum with a polycarbonate (PC) cover. This is a tough combination. The aluminum acts as a heat sink, drawing heat away from the LEDs to ensure a long life. The PC cover is strong and protects the LEDs from impact. The whole unit is rated IP65, meaning it's dust-tight and can withstand rain and water jets, making it truly ready for outdoor installation.
Optics and Color Options
A 110-degree beam angle is very wide. For facade lighting, this is great because it creates a soft, even wash of light. When you place these bars end-to-end, the wide beam helps blend the light from one fixture to the next, reducing visible gaps or hotspots.
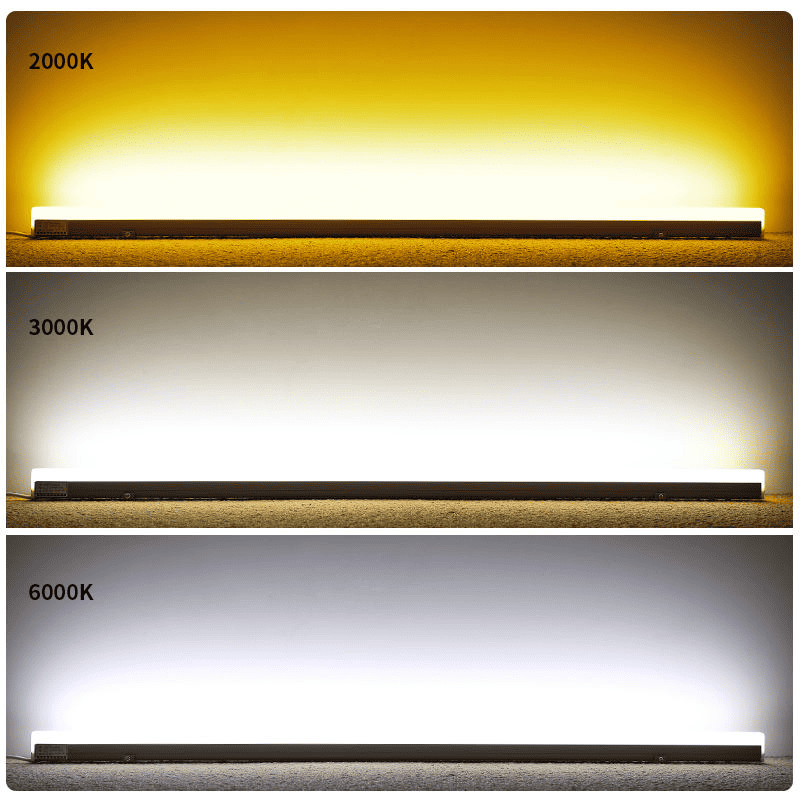
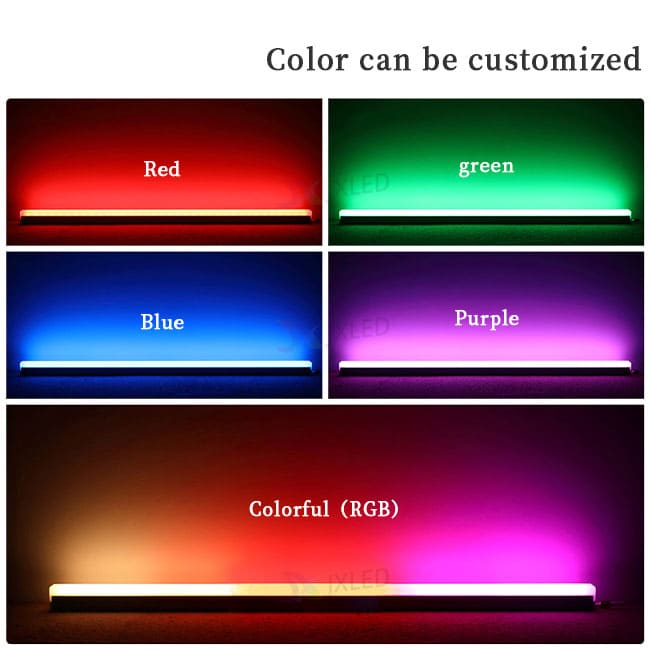
While the main feature is SPI-RGB for dynamic color, we also offer these in single colors like red, green, blue, and various whites (warm and cool). We even have DMX-controlled versions (RGB and RGBW) for projects that require more advanced, individually addressable control.
| Specification | Value / Description | Why It Matters for Your Project |
|---|---|---|
| Working Voltage | DC24V | Safe, efficient, and allows for longer wiring runs. |
| Power | 10W per meter | Good brightness for facade outlines while being energy-efficient. |
| Dimensions | 30 x 45 x 980mm | A standard 1-meter length that is easy to handle and plan for. |
| Materials | Aluminum + PC | Durable, provides good heat dissipation and impact resistance. |
| IP Rating | IP65 | Ensures reliable performance in rain, dust, and outdoor conditions. |
| Beam Angle | 110° | Creates a wide, smooth wash of light for even coverage. |
| Control | SPI (or DMX) | Offers a choice between simple, cost-effective control and advanced addressability. |
What Is the Difference Between SPI and DMX Control?
Choosing a control protocol is confusing. You hear terms like SPI and DMX, but you're not sure which is right for your job. Picking the wrong one can lead to unnecessary cost and complexity.
SPI is a simpler, one-way protocol ideal for creating synchronized, flowing effects along a chain of lights. DMX is a more robust, two-way protocol that allows every single light fixture to have its own unique address for complex, independent control.
How SPI (Serial Peripheral Interface) Works
Think of SPI as a simple command chain. The controller sends a signal down a single data line. The first light in the chain takes its instruction, then passes the rest of the signal to the next light, and so on. It’s a "follow-the-leader" system. This is why it's perfect for creating color flows, chases, and gradient effects where all the lights are part of one large, continuous animation. The wiring is also simpler—you typically just need power, ground, and a single data line. This makes it a favorite for electrical contractors looking for a fast and straightforward installation.
How DMX512 Works
DMX is the industry standard for professional entertainment lighting. With DMX, every fixture (or even sections within a fixture) gets its own unique "address." The controller sends out a package of information to all the lights, and each light only listens to the command sent to its specific address. This allows you to control light number 5 independently from light number 105. It's essential for mapping video content to a facade or for any show that requires complex, non-sequential lighting changes. The wiring is more involved, requiring a dedicated DMX cable run in a daisy chain with terminators at the end.
| Feature | SPI Control | DMX512 Control |
|---|---|---|
| Wiring | Simple (Power, Data, Clock) | More Complex (DMX In/Out) |
| Addressing | Automatic / Sequential | Manual / Individual per fixture |
| Best For | Flowing effects, color chases, simple gradients. | Video mapping, complex scenes, independent fixture control. |
| Cost | Lower (simpler controllers & fixtures) | Higher (more advanced controllers & chips) |
| Use Case | Outlining buildings, simple media effects. | Theatrical shows, architectural video facades. |
How Is It Installed on a Building Facade?
Getting lights installed high up on a building can be slow and expensive. Poor planning or clumsy fixtures can lead to delays, rework, and safety issues for your crew.
These linear lights are typically snapped into mounting clips that are screwed directly onto the facade. The fixtures are then connected end-to-end with waterproof cables to create long, continuous lines of light.
Mounting and Alignment
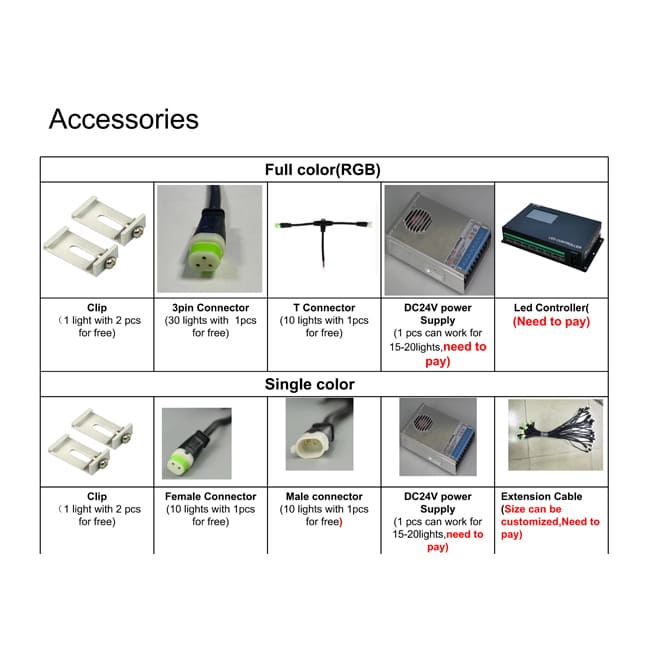
The standard installation method is wonderfully simple. Each one-meter bar comes with two or three small metal mounting clips. An installer will first mark a straight line on the facade where the lights need to go. They then screw these clips into the wall at the correct spacing. After that, the light bar simply snaps into the clips. It's a secure and very fast system. For some projects, we mount the lights onto an aluminum profile on the ground first, then lift the entire pre-assembled section into place. This is great for ensuring perfect alignment and speeding up work on high-rise buildings.
Wiring Best Practices
Wiring these lights correctly is key to a reliable system. Because they run on 24V DC, you have to plan for voltage drop.
- Power Injection: Over long runs, the voltage will decrease, causing the lights at the end of the line to be dimmer or have incorrect colors. A good rule is to inject fresh power from a power supply every 10 to 15 meters.
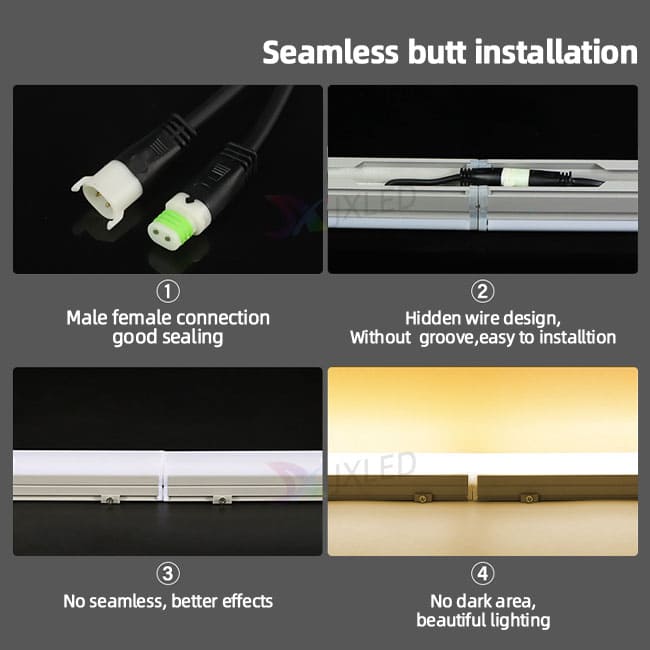
- Waterproof Connections: The lights connect to each other with pre-molded waterproof connectors. Always make sure these are screwed on tightly to maintain the IP65 rating. Any custom splices must be made inside an IP68-rated junction box.
- Cable Management: Secure all cables neatly to the wall or hide them in a channel. This not only looks more professional but also prevents wind or weather from damaging the connections over time.
| Step | Action | Key Tip for Contractors |
|---|---|---|
| 1. Mark Positions | Use a laser level to mark a straight line for the mounting clips. | Measure twice, drill once. Misaligned clips are hard to fix. |
| 2. Install Clips | Screw the mounting clips securely into the facade surface. | Use anchors appropriate for the wall material (concrete, brick, metal). |
| 3. Snap in Lights | Push the linear light bars firmly into the clips until they click. | Start at one end and work your way down the line systematically. |
| 4. Connect Cables | Connect the waterproof cables between each bar. | Ensure connectors are fully tightened. A loose connection will let water in. |
| 5. Power & Test | Connect the line to the SPI controller and power supply. Test effects. | Test each line as you complete it. Don't wait until the end of the job. |
What Kind of Effects Can You Create with It?
You have a blank building facade, but you're struggling for ideas. You want something more interesting than just static color, but you don't know what's possible with this type of light.
With SPI linear lights, you can create a huge range of dynamic effects, from subtle color-changing washes and architectural outlining to vibrant, flowing animations that run across the entire building.
Architectural Outlining and Grazing
The most common use I see is outlining the architectural features of a building. By placing these linear lights along rooftops, window frames, and vertical corners, you can trace the building's form with light. At night, this transforms a flat, dark structure into a three-dimensional landmark. You can set them to a single, elegant white or have them slowly shift through a series of brand colors. The wide 110-degree beam angle also works well for wall grazing, where you mount the lights at the top or bottom of a wall to create a smooth, even wash of light.
Dynamic Color Chasing and Flowing Effects
This is where SPI control really shines. Because the protocol is designed for sequential effects, it's incredibly easy to create animations that flow across the building. Imagine a wave of blue light washing up the facade, or a rainbow pattern chasing along the roofline. You can program effects that look like shooting stars, pulsating colors, or gentle gradients that shift with the seasons. These dynamic effects are incredibly eye-catching and are a fantastic way to draw attention to a hotel, shopping mall, or corporate headquarters. On one project for a commercial center, we programmed a simple "sparkle" effect that made the whole building shimmer, and the client loved it.
FAQ
What does SPI stand for?
SPI stands for Serial Peripheral Interface. It's a simple communication protocol used to send data sequentially from a controller to a series of devices, like LED pixel lights.
How many linear lights can I connect in one SPI chain?
This depends on the controller, but typically you can run a single data line to several hundred pixels. However, the more important limitation is power. You must inject fresh 24V power every 10-15 meters to prevent voltage drop.
Is IP65 enough for a permanent outdoor installation?
Yes. An IP65 rating means the fixture is fully protected from dust ingress and can withstand low-pressure water jets from any direction. This is sufficient for permanent installation in areas exposed to rain and weather.
Can I cut these linear lights to a custom length?
No, these fixtures are sealed one-meter units and cannot be cut. For shorter sections, you need to order them in the specific lengths required (e.g., 0.5 meters) from the factory.
What's the difference between this and a regular LED batten?
A regular LED batten is usually a single color and is either on or off. An SPI LED linear pixel light contains multiple individually controllable segments, allowing it to display dynamic, flowing patterns and animations.
Do I need a special controller for SPI lights?
Yes, you need an SPI-compatible LED controller. These controllers read animation files (often from an SD card) and send the correct data signal to the lights. They are generally simpler and more affordable than DMX controllers.
What is the ideal viewing distance for these lights?
They are designed to be viewed from a distance. The effect is best when you are far enough away that the individual LED pixels blend together into a smooth line of color. This is typically 30 meters or more.
How do you program the effects?
Effects are created using LED editing software (like LedEdit or similar programs). You lay out your lights in the software, create the animation, and then export the effect file to an SD card that goes into the SPI controller.
Can I run video on these lights?
For simple, abstract video effects, yes. But because SPI is a sequential protocol, it's not ideal for displaying detailed video content. For that, you would want to use the DMX version of this light and a proper media server.
What is the lifespan of these lights?
With a quality aluminum body for heat dissipation and reliable LEDs, you can expect a lifespan of around 50,000 hours. For a fixture running 10 hours a night, that's over 13 years.