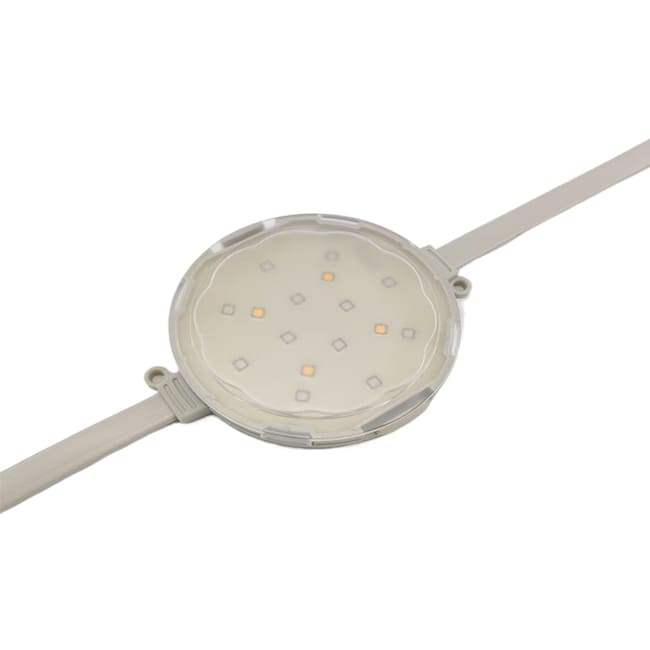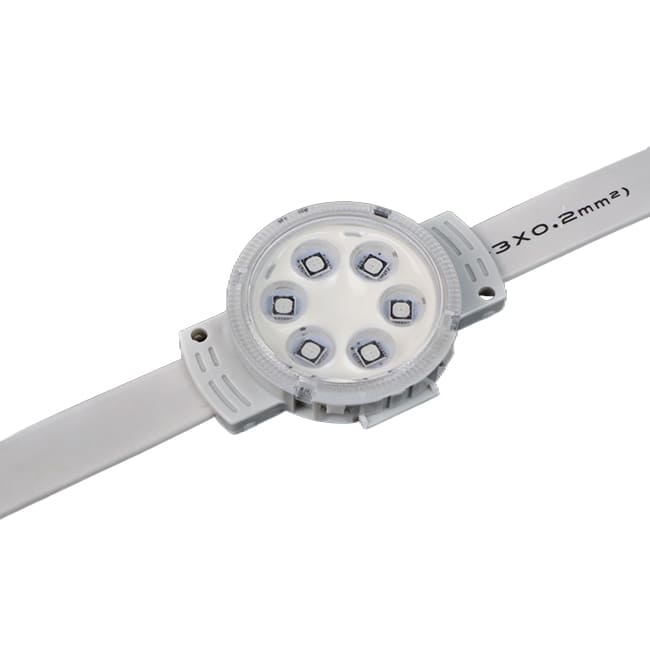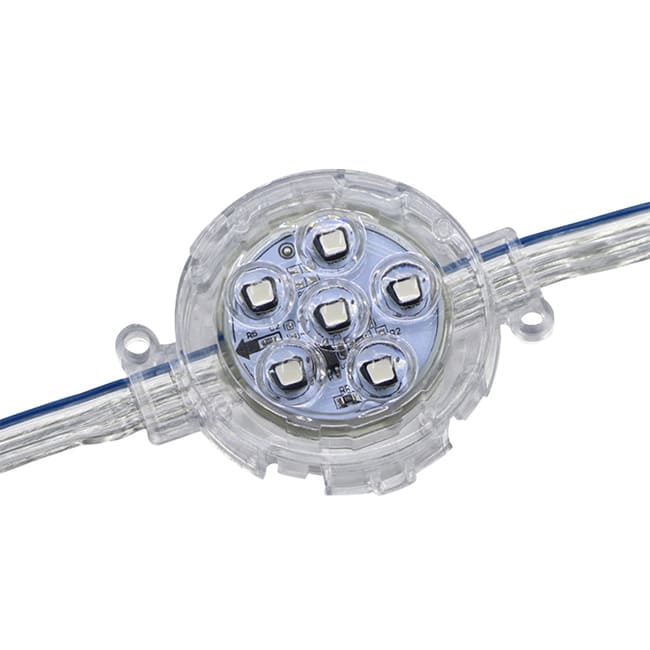
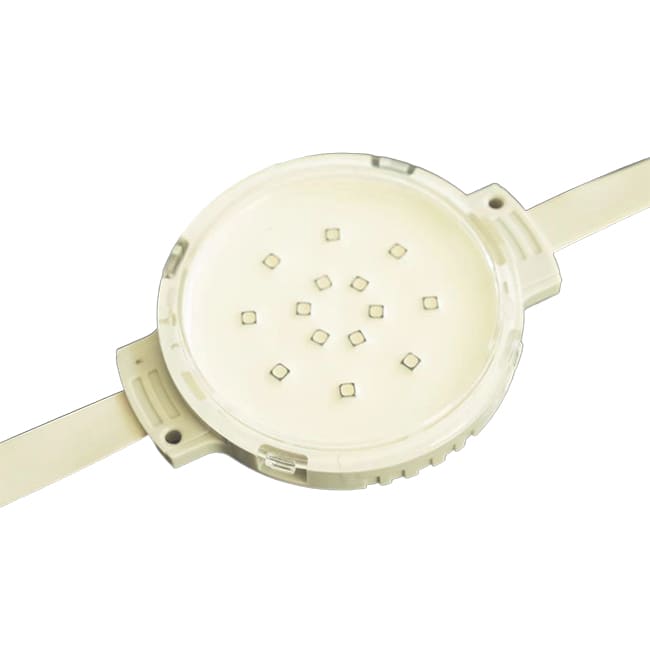
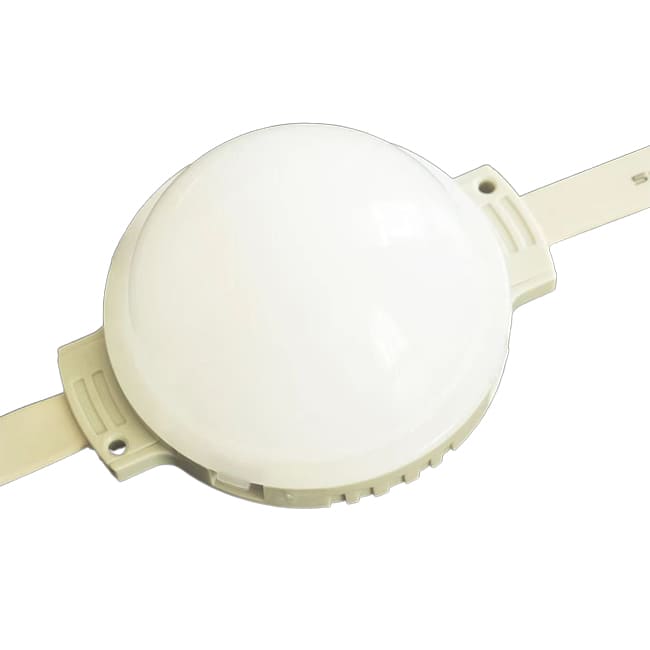
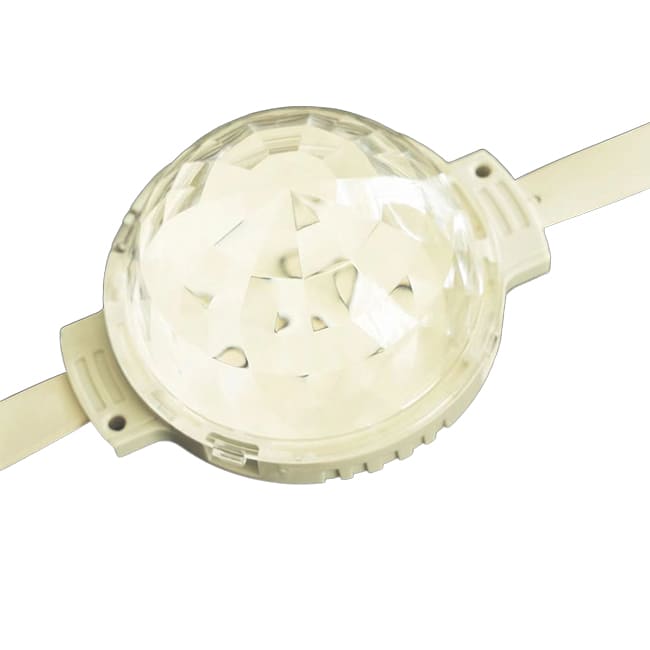
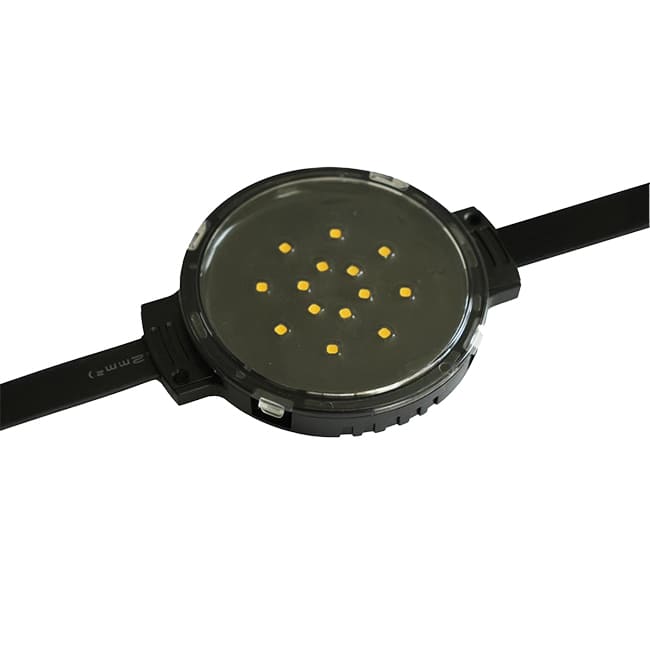
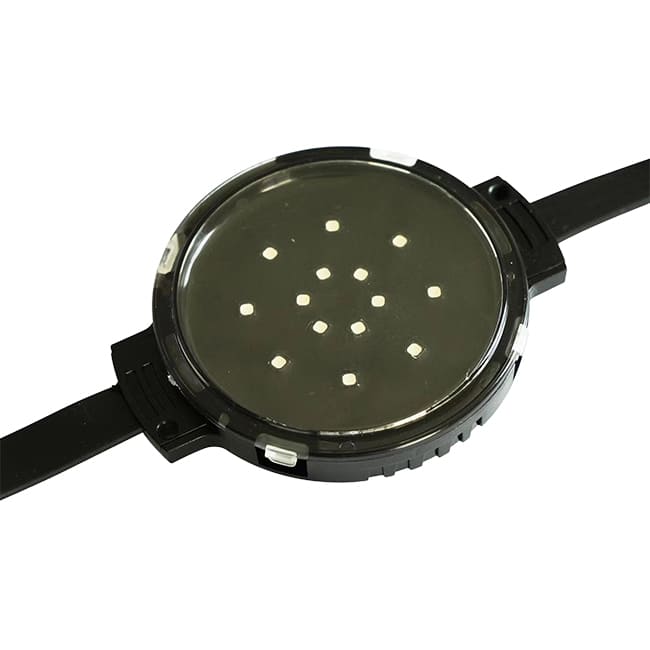
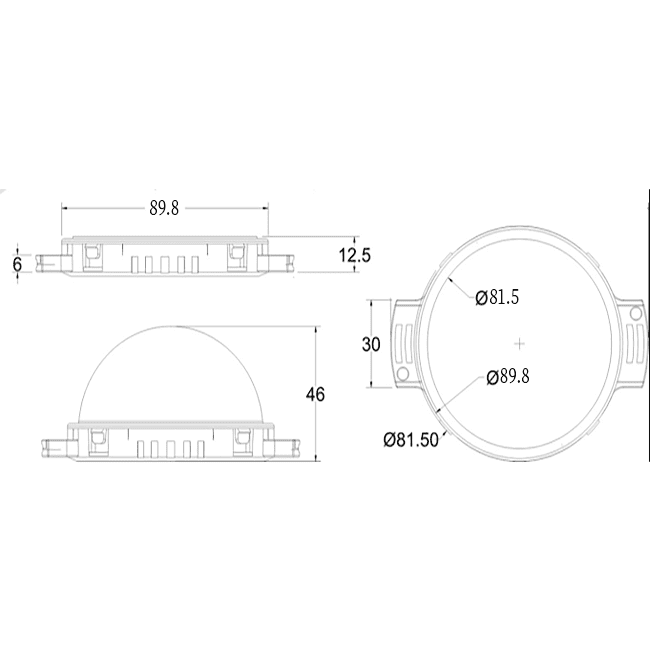
What is a 90mm 24V 3W IP65 UV-Resistant LED Pixel Dot Light for Facade Lighting?
Creating a dynamic media facade can be complicated. You worry about the lights yellowing in the sun or failing in the rain. This specific pixel dot light solves these problems.
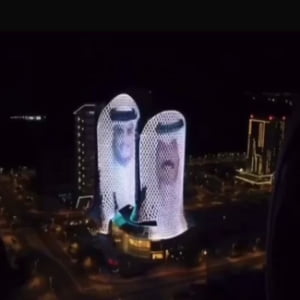
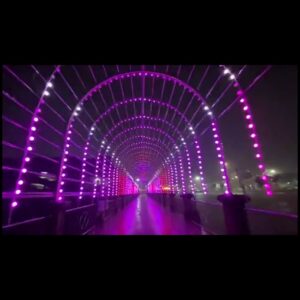
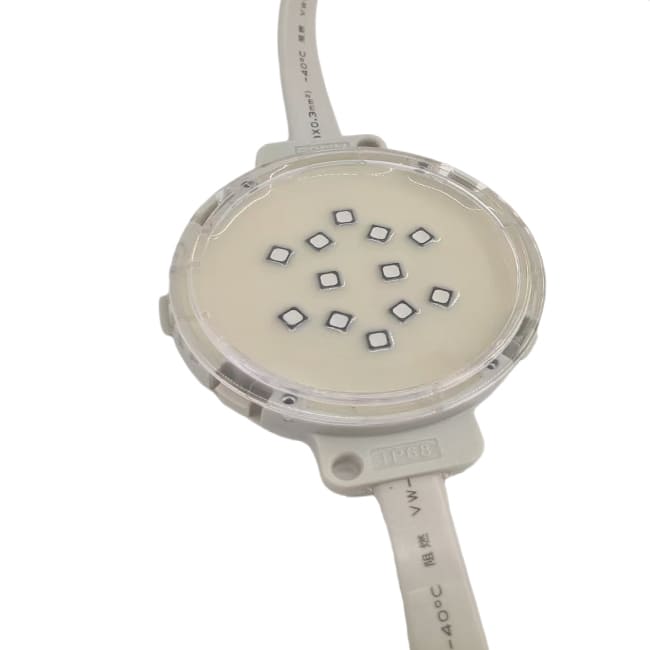
A 90mm 24V 3W IP65 pixel dot is a large-format, individually controllable LED light for building exteriors. Its UV-resistant PC shell prevents sun damage, while the IP65 rating ensures protection against dust and water. It’s designed for creating vibrant, durable media displays on facades.
This light is a workhorse in my industry. I've used it on projects from Southeast Asia to the Middle East. It balances size, brightness, and durability perfectly for large-scale buildings. Let's break down what makes it so reliable and how you can use it for your next project.
What Are Its Key Features?
Choosing the right pixel dot from thousands of options is tough. A bad choice leads to washed-out colors, constant maintenance, and a disappointed client. Knowing the key features ensures success.
Its main features are a tough, UV-resistant PC housing, versatile DMX512 control for dynamic color, and a wide 110-degree beam angle for smooth wall coverage. These combine to deliver reliable, long-lasting performance.
Built for the Outdoors: UV Resistance and IP65 Rating
The biggest enemy of any outdoor plastic is the sun. I’ve seen cheap fixtures turn yellow and brittle in less than a year. This pixel dot uses a high-quality, UV-resistant polycarbonate (PC) shell. This means it stays clear and strong, protecting the LEDs inside without degrading. The color and light output you see on day one is what you’ll see for years.
The IP65 rating is also critical. The "6" means it is completely dust-tight. The "5" means it can withstand low-pressure water jets from any direction. For a building facade, this is perfect. It handles rain, wind, and sprinkler systems without any issues. You don't have to worry about water getting in and shorting out the electronics.
Creative Freedom with DMX512 Control
This is where the magic happens. These pixels use the DMX512 protocol. This lets you control every single light individually. You can create flowing animations, display text, or run complex video content across the entire building. We offer DMX512 RGB for a full spectrum of color and DMX512 RGBW, which adds a dedicated white chip. The RGBW version is great when you need a pure, crisp white light, not just a mix of red, green, and blue. For simpler jobs, we also have static color options like warm 3000K or cool 6000K.
Wide Coverage with a 110-Degree Beam Angle
A 110-degree beam angle is considered a wide flood. For facade lighting, this is a huge advantage. The wide spread of light from each dot blends smoothly with its neighbors. This creates a uniform "wash" of light rather than harsh, disconnected spots. It also means you might be able to use fewer fixtures to cover the same area, which saves the client money on both hardware and installation labor.
| Feature | Benefit for Your Project |
|---|---|
| UV-Resistant PC Housing | Fixture won't yellow or crack. Ensures long-term aesthetic appeal and durability. |
| IP65 Rating | Protected from dust and rain. Reduces maintenance and failure rates in outdoor settings. |
| DMX512 Control | Individual pixel control for dynamic effects. Delivers maximum creative freedom. |
| 110° Beam Angle | Soft, wide light distribution. Creates smooth coverage with fewer fixtures. |
What Are the Technical Specifications?
Technical sheets can be full of confusing numbers. If you ignore the key specs, you might buy a product that is too dim, fails in your climate, or isn’t compatible.
This is a 90mm diameter pixel dot that runs on safe 24V DC power, consuming 3 watts. It is IP65 rated, has a 110° beam angle, and comes in DMX-controlled RGB/RGBW or various static white color temperatures.
Power and Voltage Explained (24V DC, 3W)
This pixel runs on 24V DC (Direct Current). This is a standard low voltage for outdoor lighting because it's safer to work with than high-voltage AC power. It also allows for longer cable runs compared to 12V systems before you experience significant voltage drop.
At 3 watts per pixel, it provides a great balance of brightness and energy efficiency. The 90mm size makes it visible from a distance, so the 3W output is perfect for making an impact without excessive power consumption. When planning a project, you simply multiply the number of pixels by 3 to calculate your total wattage, which helps you size your power supplies correctly. Remember to add a 20% buffer.
Color and Control Options
Your choice here depends entirely on the project goal.
- DMX512 RGB: The standard for most media facades. It can create millions of colors by mixing Red, Green, and Blue.
- DMX512 RGBW: My personal recommendation for high-end projects. It adds a dedicated White chip. This gives you a much better quality of white light and more subtle pastel shades.
- Static Color Temperatures (CCT): If you just need to outline a building in a single color, these are perfect. We offer a range from very warm amber (1800K) to a neutral warm white (3000K) and a cool, modern white (6000K).
| Specification | Value / Description | Why It Matters for Your Project |
|---|---|---|
| Diameter | 90mm | Large size for good visibility on building facades. |
| Input Voltage | 24V DC | Safe low voltage, efficient for long cable runs. |
| Power Consumption | 3W | Bright enough for impact, yet energy-efficient. |
| IP Rating | IP65 | Ensures reliability in outdoor conditions against rain and dust. |
| Housing Material | UV-Resistant Polycarbonate | Prevents sun damage, yellowing, and cracking over time. |
| Beam Angle | 110° | Creates a wide, soft wash of light for smooth blending. |
| Control Protocol | DMX512 / On-Off | Allows for complex dynamic scenes or simple static lighting. |
| Color Options | RGB, RGBW, 1800K-6000K | Offers full creative flexibility for any design concept. |
How Do You Install It?
A smooth installation saves time and money. Complications on-site can cause delays and rework, especially when you're working high up on a facade at night. Following a clear process is key.
Installation involves securing the mounting base to the facade, connecting the waterproof cables in a daisy-chain, and snapping the pixel dot into the base. Always test a small section before installing the entire array.
Mounting Methods
For a product like this, there are a few common ways to mount it. The most popular method I see on my projects is using an aluminum profile or track. We pre-drill the track on the ground according to the pixel spacing in the design. Then, we lift the entire track into place on the facade. This ensures perfect alignment and is much faster than measuring and drilling each point on the building itself.
Alternatively, for surfaces where a track isn't suitable, each pixel dot can be screwed directly to the facade. The base has mounting holes for this purpose. I remember a project on a curved hotel facade in Dubai where we had to do this. It took more time, but the result was perfect because each light could follow the building's unique shape.
Step-by-Step Installation Process
The process is straightforward if you're systematic.
- Plan and Mark: Use the lighting design drawings to mark the exact position of each pixel on the facade or mounting profile.
- Mount the Base: Securely attach the mounting base or the entire aluminum profile to the building surface. Use anchors and screws appropriate for the material (concrete, metal panel, etc.).
- Run Main Cables: Run the main 24V DC power lines and the DMX signal cable from the power supplies and controller to the start of each pixel chain.
- Connect and Install: Connect the first pixel dot to the main line. Then, connect the output of the first pixel to the input of the second, and so on. As you connect each light, snap it firmly into its base. The connectors are keyed to prevent mistakes and are waterproof when tightened.
- Test and Verify: After connecting a chain of pixels, power it up and run a DMX test. Make sure every light responds correctly. It's much easier to fix a bad connection now than after the whole facade is finished.
| Step | Action | Key Checkpoint |
|---|---|---|
| 1. Site Prep | Mark all mounting points based on the approved design. | Double-check that spacing is accurate for the desired visual effect. |
| 2. Mount Base | Secure the mounting base or profile to the facade. | Use the correct anchors for the wall material to ensure a strong hold. |
| 3. Connect Cables | Daisy-chain the pixels using the waterproof connectors. | Ensure all connections are tight to maintain the IP rating. |
| 4. Install Fixture | Snap the pixel dot firmly into its mounted base. | Listen for the "click" to confirm it's locked in place. |
| 5. Test Section | Power on a small string of lights to test functionality. | Verify every pixel responds to DMX commands before proceeding. |
How Is the DMX Wiring Configured?
DMX wiring looks intimidating to newcomers. But one wrong connection can make a whole section of lights flicker or stop working entirely. The good news is that it follows a simple, logical system.
DMX pixel dots are wired in a 'daisy-chain'. The signal flows from the DMX controller, into the first light via its 'Data In' wire, and out to the next light via its 'Data Out' wire.
Understanding the DMX Daisy Chain
Think of it like a line of people passing a secret message. The controller is the first person who creates the message (the lighting command). It tells the first pixel, "You turn red." That pixel turns red and then passes the rest of the message down the line to the next pixel. This continues all the way to the end of the chain.
Each pixel light has an input cable and an output cable. You simply connect the output of one light to the input of the next. This creates the daisy chain. At the very end of the last light in a chain, it is best practice to install a DMX terminator. This is a small resistor that stops the signal from bouncing back and causing interference, which can look like flickering lights.
Power and Data Limits
This is where practical field knowledge is crucial. There are two main limitations to consider:
- DMX Signal Limit: A single DMX universe has 512 channels. An RGB pixel uses 3 channels (R, G, B) and an RGBW pixel uses 4. This means you can control about 170 RGB pixels or 128 RGBW pixels per DMX universe. If your project has more, you need a controller with multiple universe outputs.
- Power Injection (Voltage Drop): Over a long chain of pixels, the 24V power will drop. The lights at the end of the chain won't get the full voltage and may appear dimmer or show incorrect colors. To prevent this, we inject power at multiple points. A good rule of thumb is to inject fresh power from a power supply every 50 to 100 pixels, depending on the cable gauge.
| Component | Its Function in the System | My Practical Tip |
|---|---|---|
| DMX Controller | Generates the lighting scenes and sends the data signal. | Choose a controller that can handle the total number of DMX universes you need. |
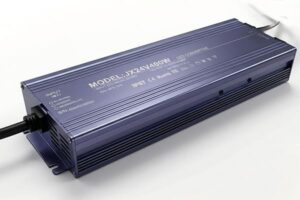
| 24V DC Power Supply | Converts mains AC power to safe 24V DC for the lights. | Always calculate your total wattage and add a 20% safety margin. |
| Pixel Dot | Receives data, displays color, and passes the signal on. | Ask for factory DMX pre-addressing. It saves countless hours on site. |
| DMX Terminator | Placed at the end of the last pixel in a chain. | Never skip this. It's a $2 part that prevents hours of troubleshooting. |
| DMX Signal Amplifier | Boosts the data signal for very long cable runs. | Use one if your DMX cable run exceeds 100 meters. |
FAQ
What's the difference between DMX RGB and RGBW?
RGB mixes Red, Green, and Blue light to create colors. RGBW adds a separate, dedicated White LED chip. This allows for a much cleaner, purer white light and better pastel shades. I recommend RGBW for high-end architectural projects.
How many pixel dots can I connect in one chain?
For the DMX signal, you can run up to 170 RGB pixels per DMX universe. For power, you should inject fresh 24V DC power every 50-100 pixels to avoid voltage drop, which causes dimming at the end of the line.
Is IP65 enough for heavy rain?
Yes. IP65 means the fixture is protected against low-pressure water jets from any direction. This is more than sufficient to handle heavy rain, storms, and even cleaning with a hose.
Why is UV resistance so important for outdoor lights?
The sun's ultraviolet (UV) rays break down standard plastics. This makes them turn yellow, become brittle, and crack. A UV-resistant PC housing ensures the fixture stays clear and strong for many years, protecting the LEDs inside.
What does a 110-degree beam angle look like?
It creates a very wide, soft cone of light. On a facade, this allows the light from each pixel to overlap and blend smoothly with its neighbors, creating an even wall wash effect instead of sharp, distinct spots of light.
Can I cut the cables between the lights?
Yes, the cables between pixels are designed to be cut to achieve custom spacing. However, you must use proper IP68-rated splice kits or connectors to rejoin them to maintain the waterproof seal.
What is a DMX address and do I need to set it?
A DMX address is a unique number assigned to each pixel so the controller can talk to it individually. For large projects, we can pre-address the pixels at the factory according to your layout, which saves a huge amount of time during installation.
How far apart should I space these lights?
Spacing depends on the viewing distance and desired effect. For a smooth, blended media wall viewed from far away, you might space them 200-300mm apart. For sharper graphics or closer viewing, you might space them 100-150mm apart.
What kind of power supply do I need?
You need a 24V DC constant voltage power supply. To calculate the size, multiply the number of pixels by 3 watts (e.g., 100 pixels x 3W = 300W). Then, choose a power supply with at least 20% more capacity (e.g., a 360W power supply or larger).
Do these lights get hot?
Like all LEDs, they generate some heat. However, they are designed with heat sinks and operate at a low wattage, so they only get warm to the touch. They do not pose a fire hazard and are much cooler than old halogen fixtures.
What is the expected lifespan of this LED pixel dot?
With high-quality LEDs and a durable, UV-resistant housing, you can expect a lifespan of 50,000 hours or more. In a typical application running 8 hours a night, that's over 15 years of reliable operation.